Creating a new timetable
You can create multiple different schedules in timetable engine and add content to them by your own needs.
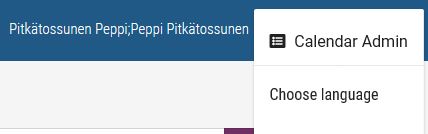
When you are logged in click the arrow ![]() in the top-right corner of the page and select Calendar admin.
in the top-right corner of the page and select Calendar admin.
Creating a new timetable
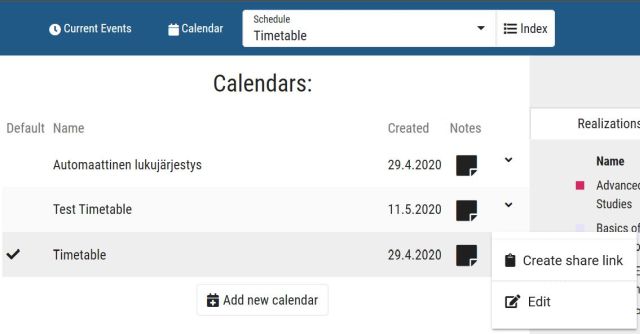
- Switch to the Calendar admin view.
- Under Calendars, select Add new calendar. The New calendar window opens.
- Enter the name of the calendar in the field and click Save. The name may not exceed 30 characters.
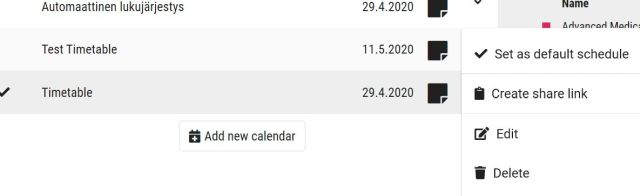
You can edit the name of the schedule afterwards. Switch to Calendar admin view. Choose the schedule you want to edit and select Edit. Enter a new name in the field and select Save.
Remember that you can’t edit an auto-generated timetable (Automaattinen lukujärjestys).
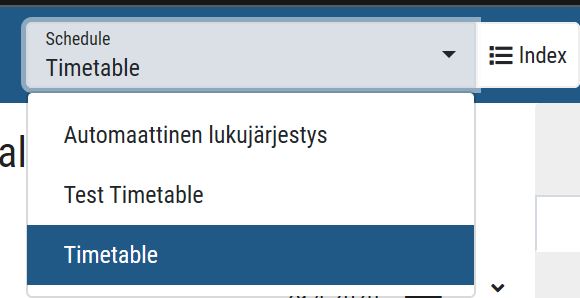
You will find the new basket from the Schedule drop-down menu at the top of the page.
Setting the default timetable
The default timetable opens automatically when you log in.
- Switch to the Calendar admin view.
- Choose Set as default schedule.